

Deploying a Microservices Application on Azure Using AKS: A Step-by-Step Guide


Microservices architecture has become increasingly popular for its scalability and flexibility. In this guide, we'll walk through deploying a microservices application on Azure using Azure Kubernetes Service (AKS). By the end, you'll have a fully functional deployment pipeline for your microservices.
Objective
Deploy a microservices application on Azure using AKS.
1. Creating an AKS Cluster
Deliverable: AKS cluster with specified nodes, network security policies, and RBAC.
Navigate to AKS: Click on "Create a resource" > "Kubernetes Service".
Configure AKS: Define cluster details - name, region, Kubernetes version, node size, and node count.
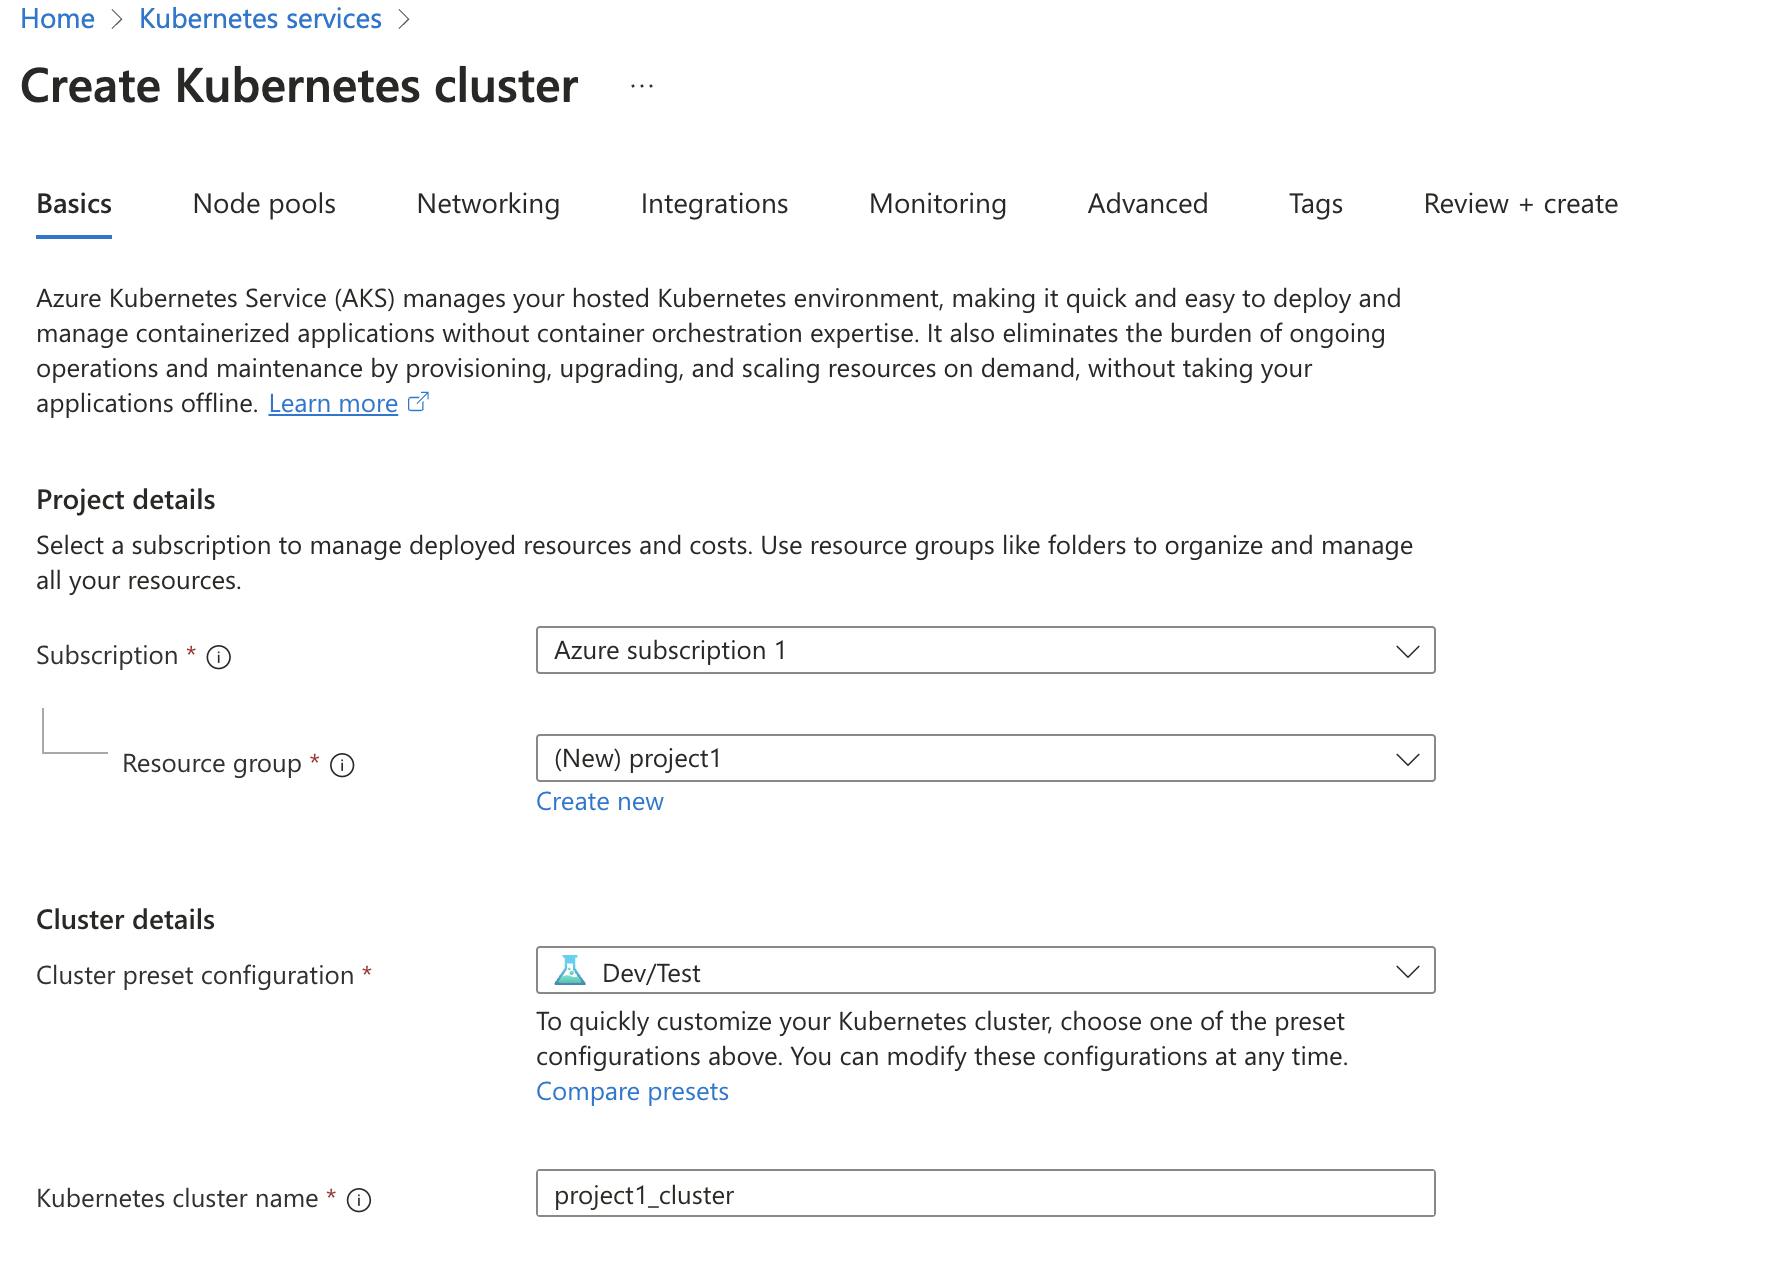
Create the AKS Cluster: Review settings and create the cluster
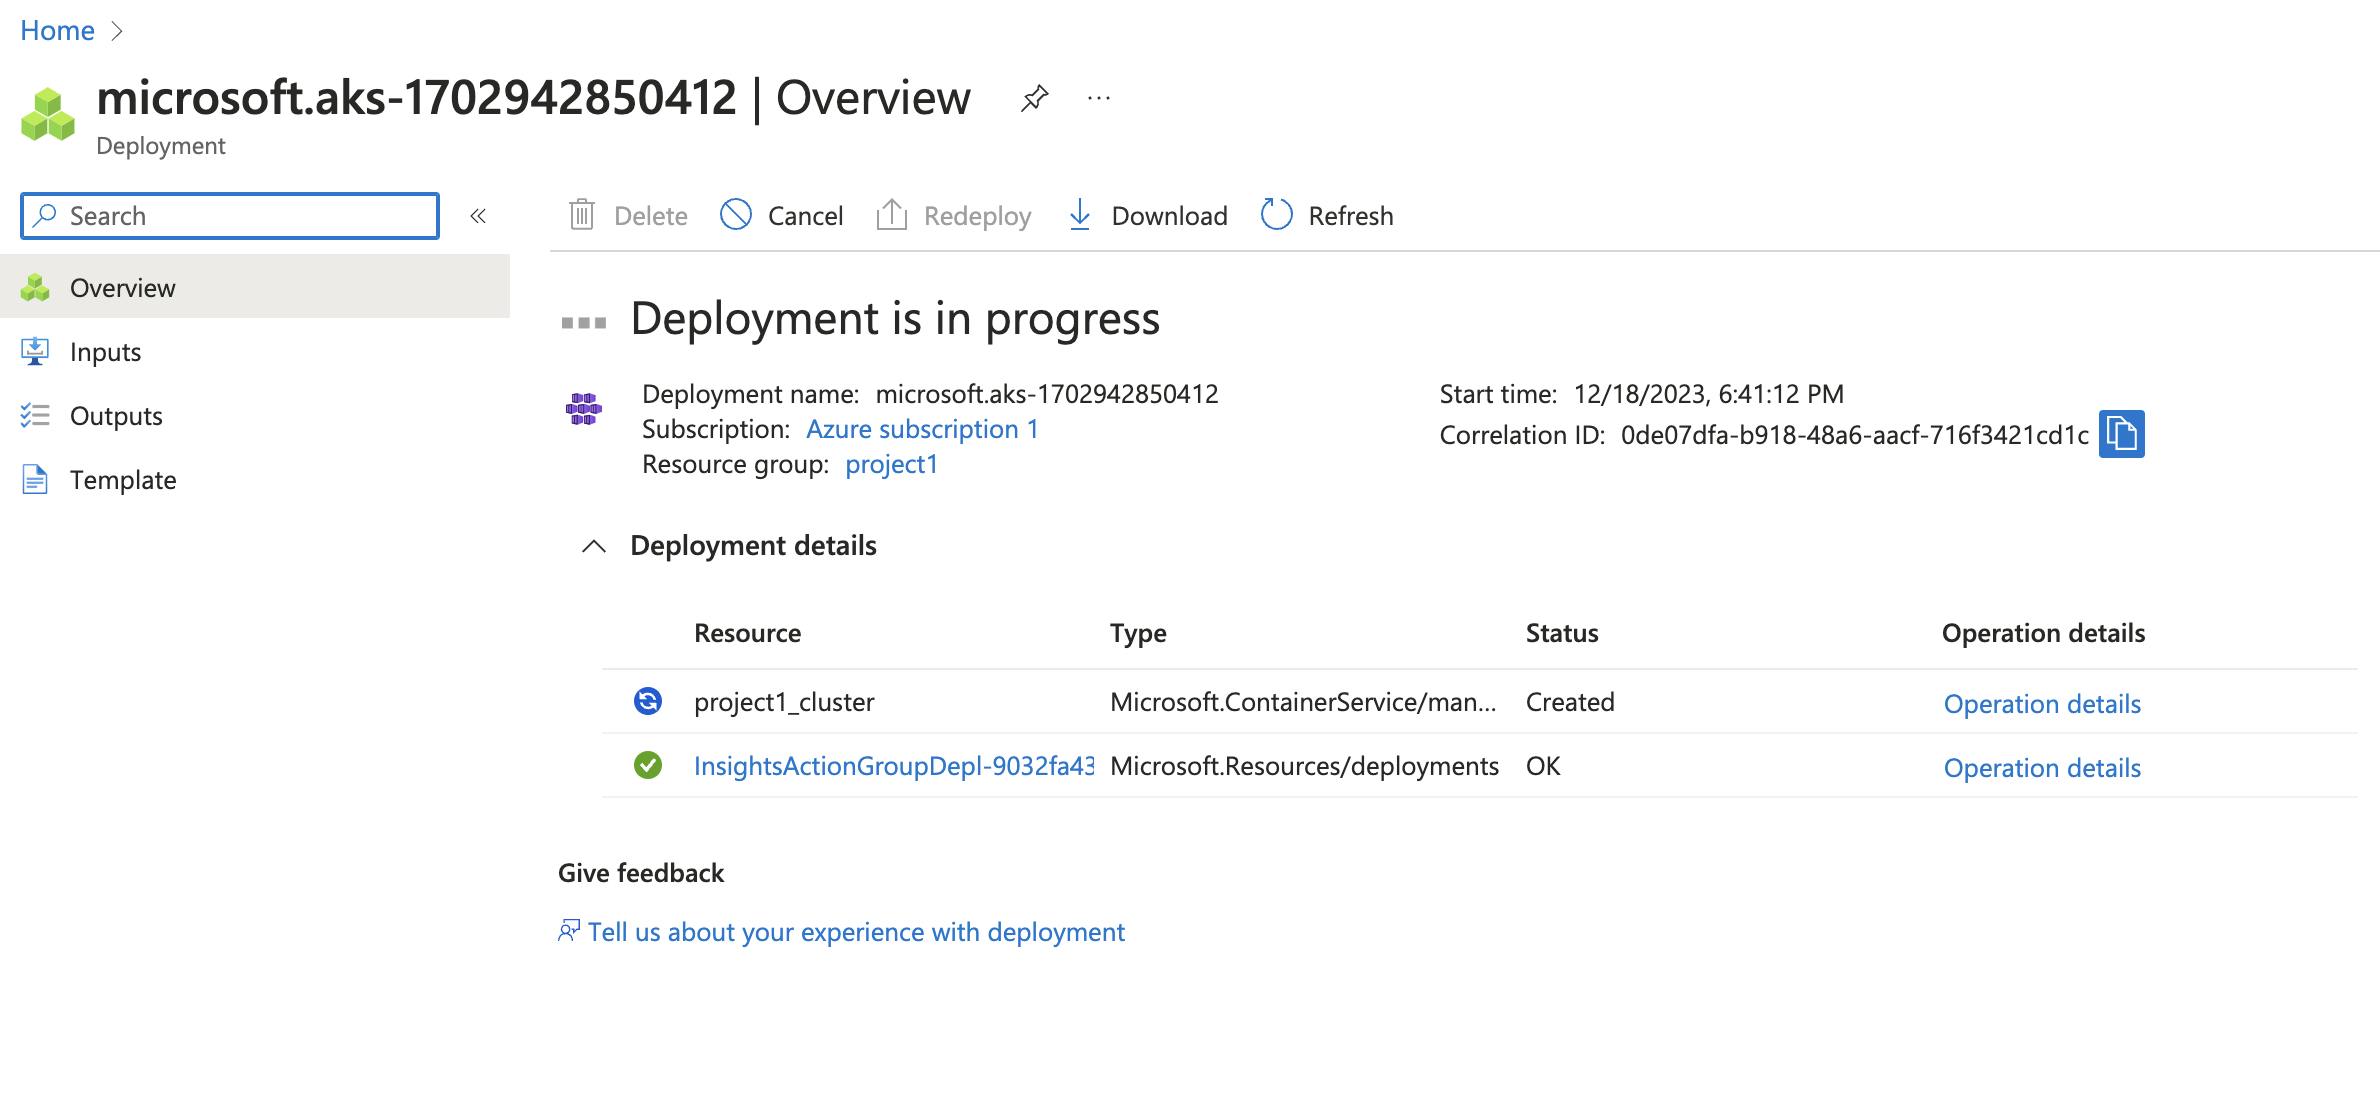
.
2. Containerizing Microservices with Docker
Deliverable: Docker images of microservices ready for deployment.
Write Dockerfiles: Create Dockerfiles for microservice detailing their configurations and dependencies.
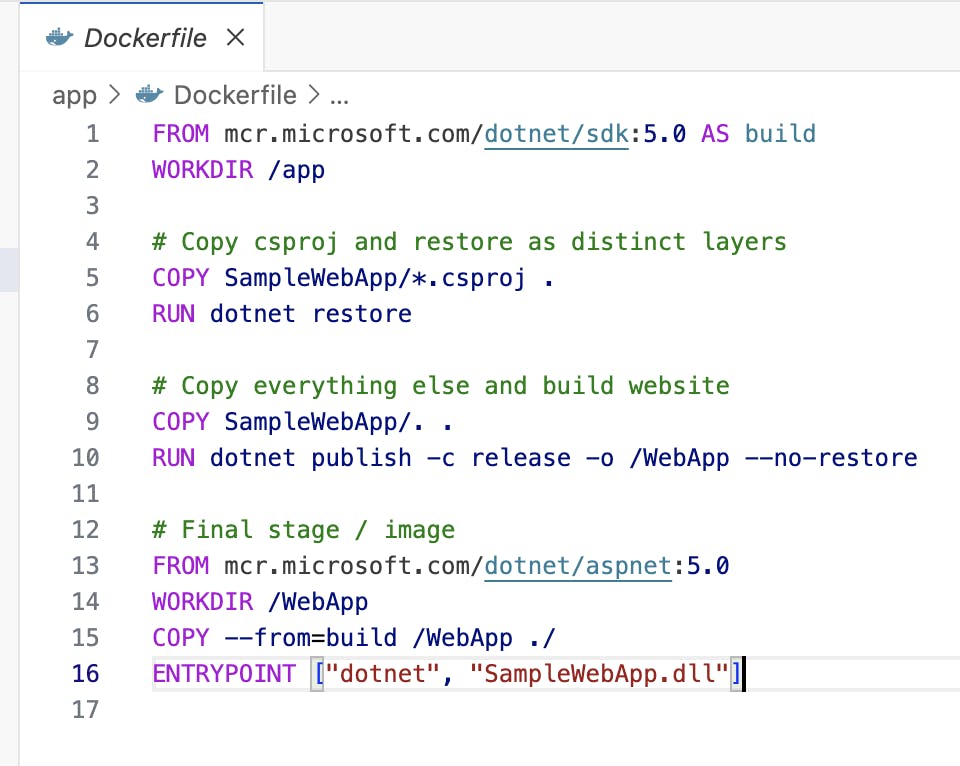
Build Docker Images: Use the Docker command to build images for microservice.


Push Images to Registry: Push the built images to a Docker registry (e.g., Azure Container Registry).
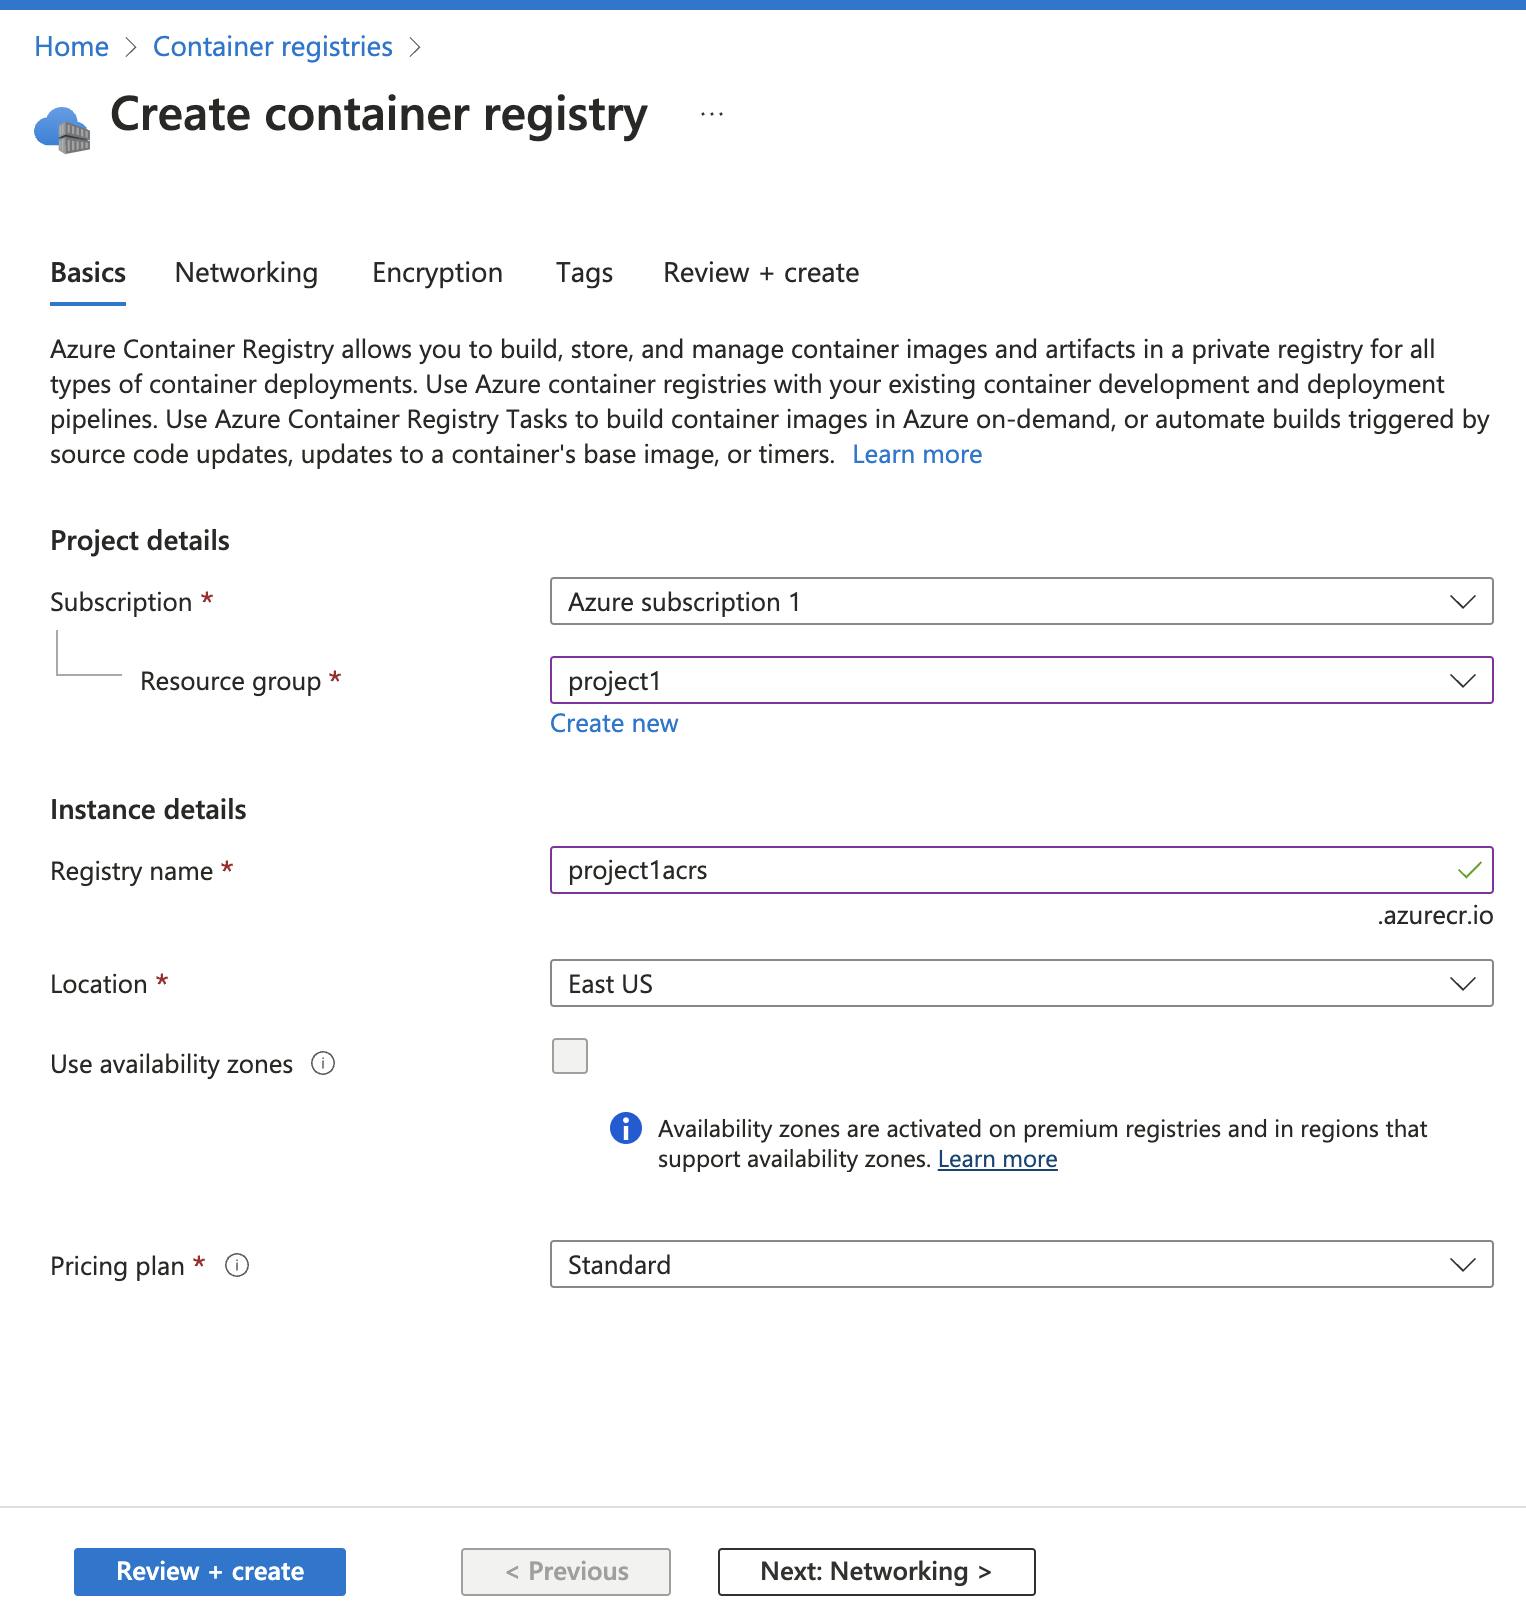
Log in to your Azure Container Registry:

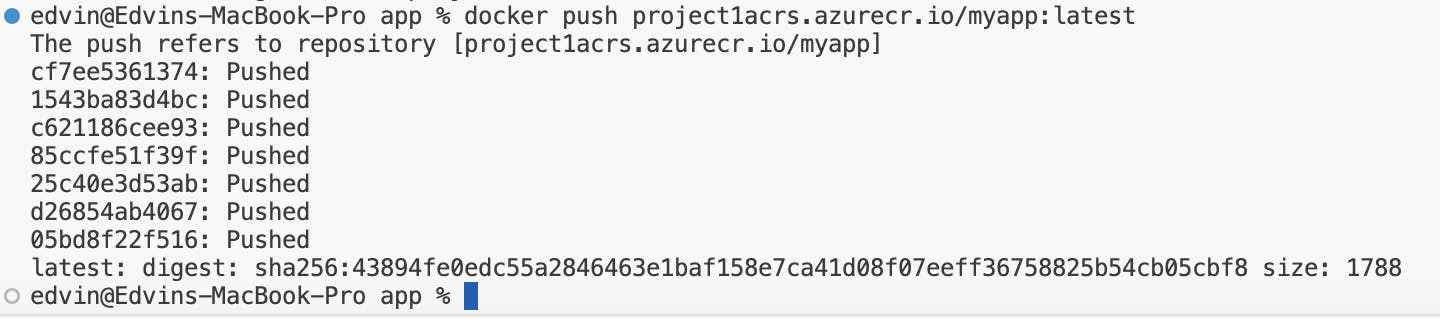
Push the tagged Docker image to your Azure Container Registry:
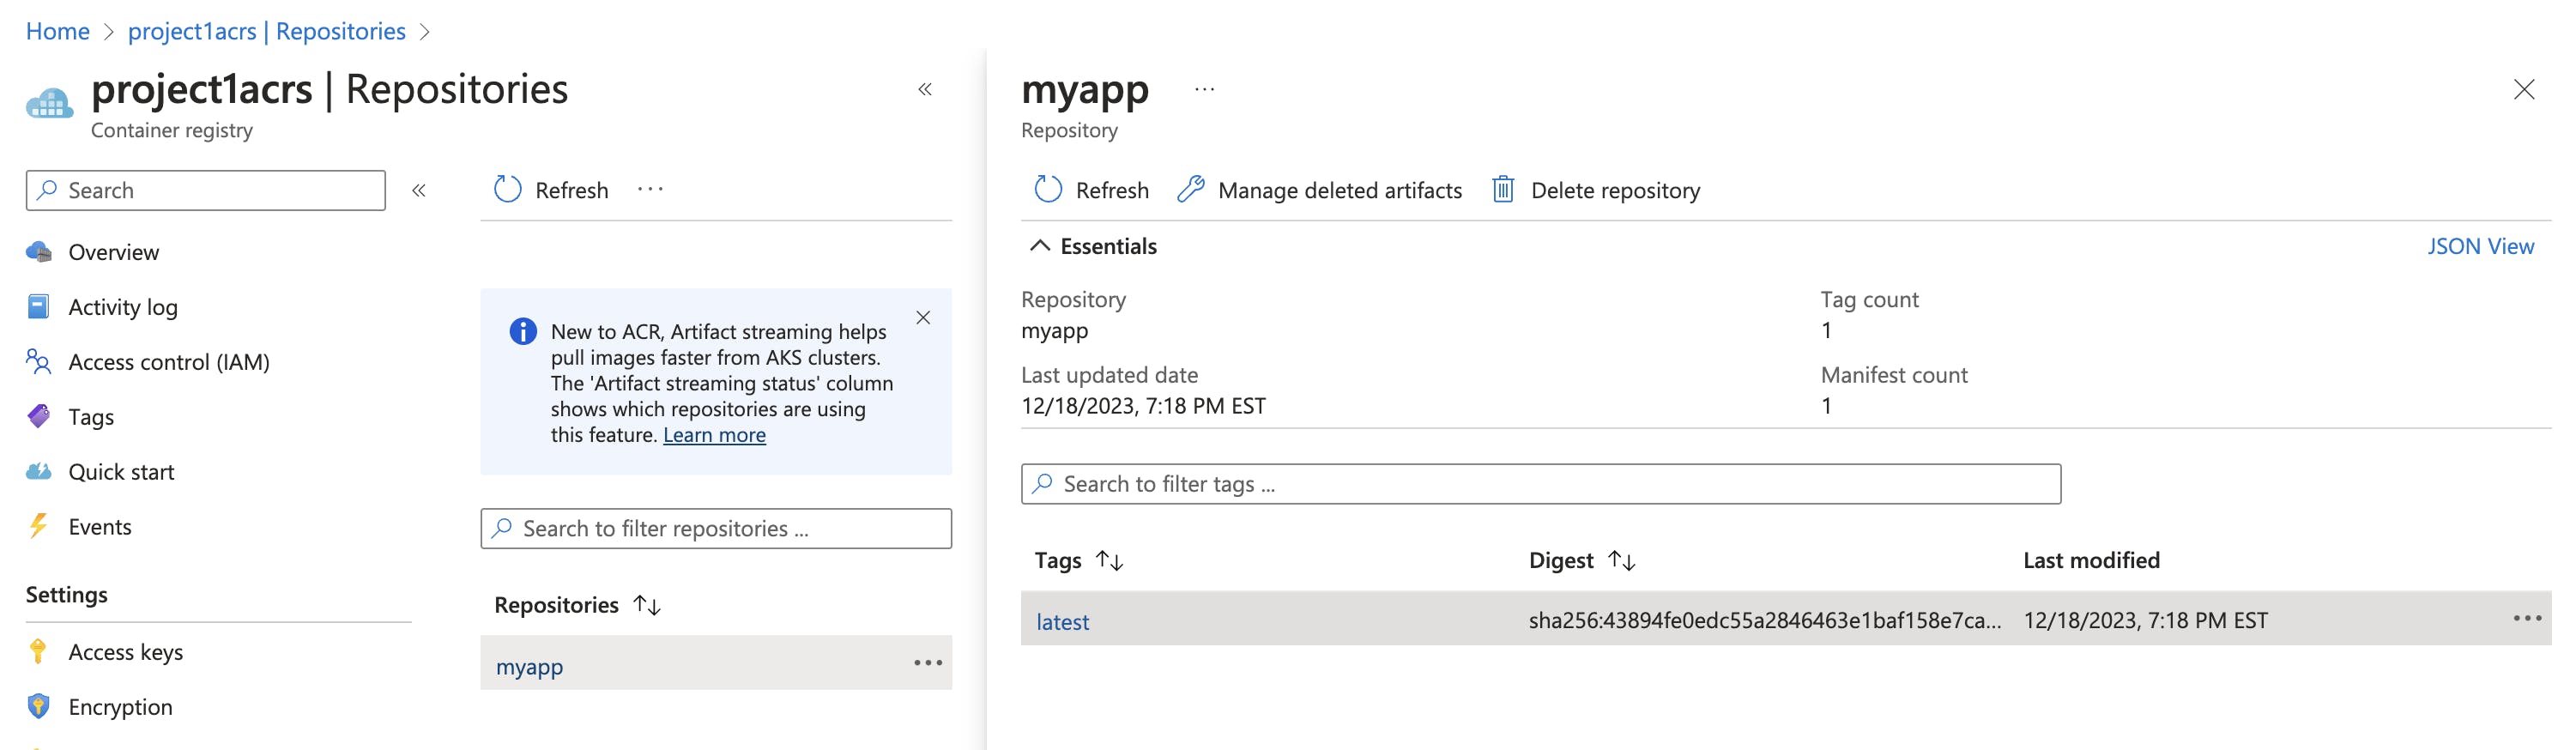
Verify Image in ACR:
3. Deploying Microservices to AKS
Deliverable: Microservices deployed and operational on AKS.
Create Kubernetes Deployment: Define Kubernetes deployment manifests for each microservice, specifying image names and configurations

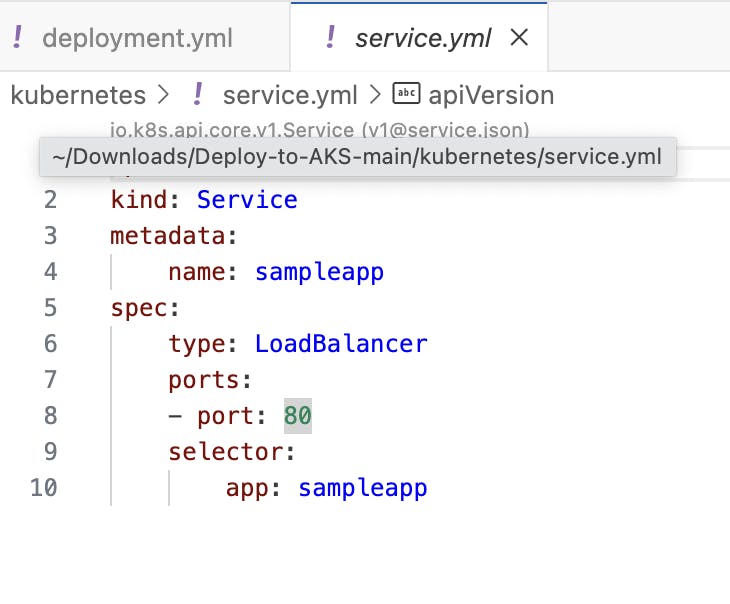
Set Up Kubernetes Services: If necessary, create Kubernetes services to expose the microservices
Connect to AKS cluster using Azure CLI

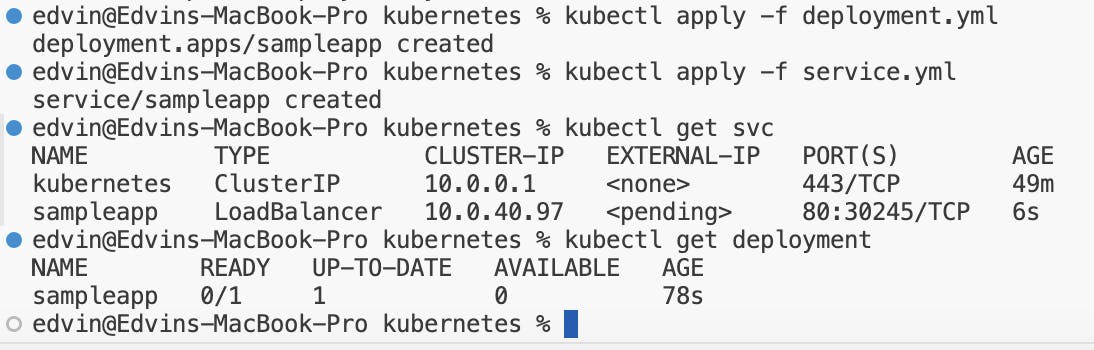
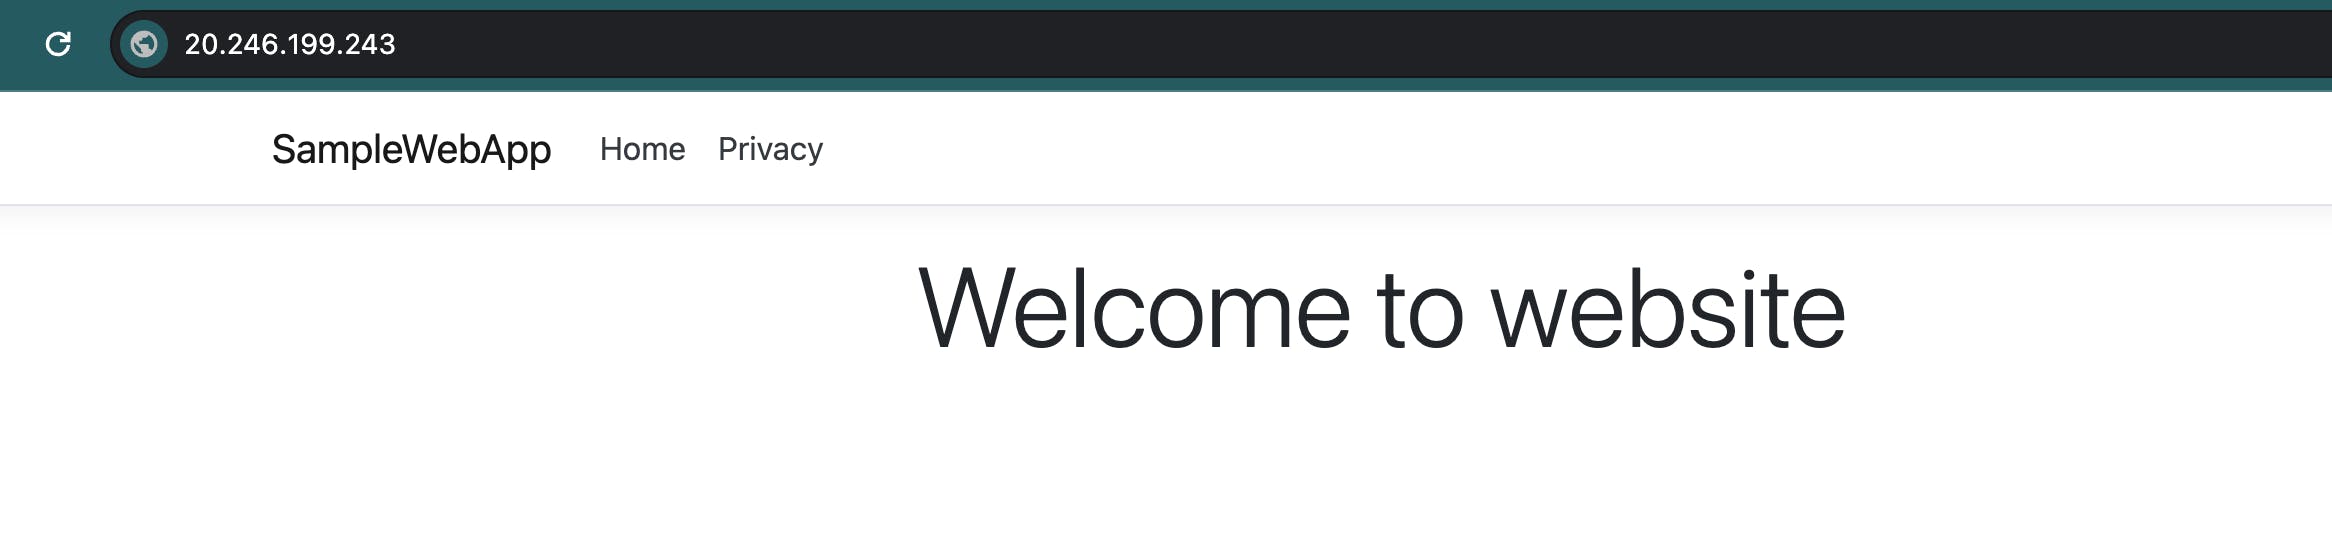
Update AKS Cluster: Deploy the microservices by applying Kubernetes configurations to the AKS cluster.
4. Automate Deployment with Azure DevOps
Deliverable: Automated deployment pipeline integrated with Git repository.
Create Azure DevOps Pipeline: Access Azure DevOps, create a new pipeline, and link it to your Git repository.
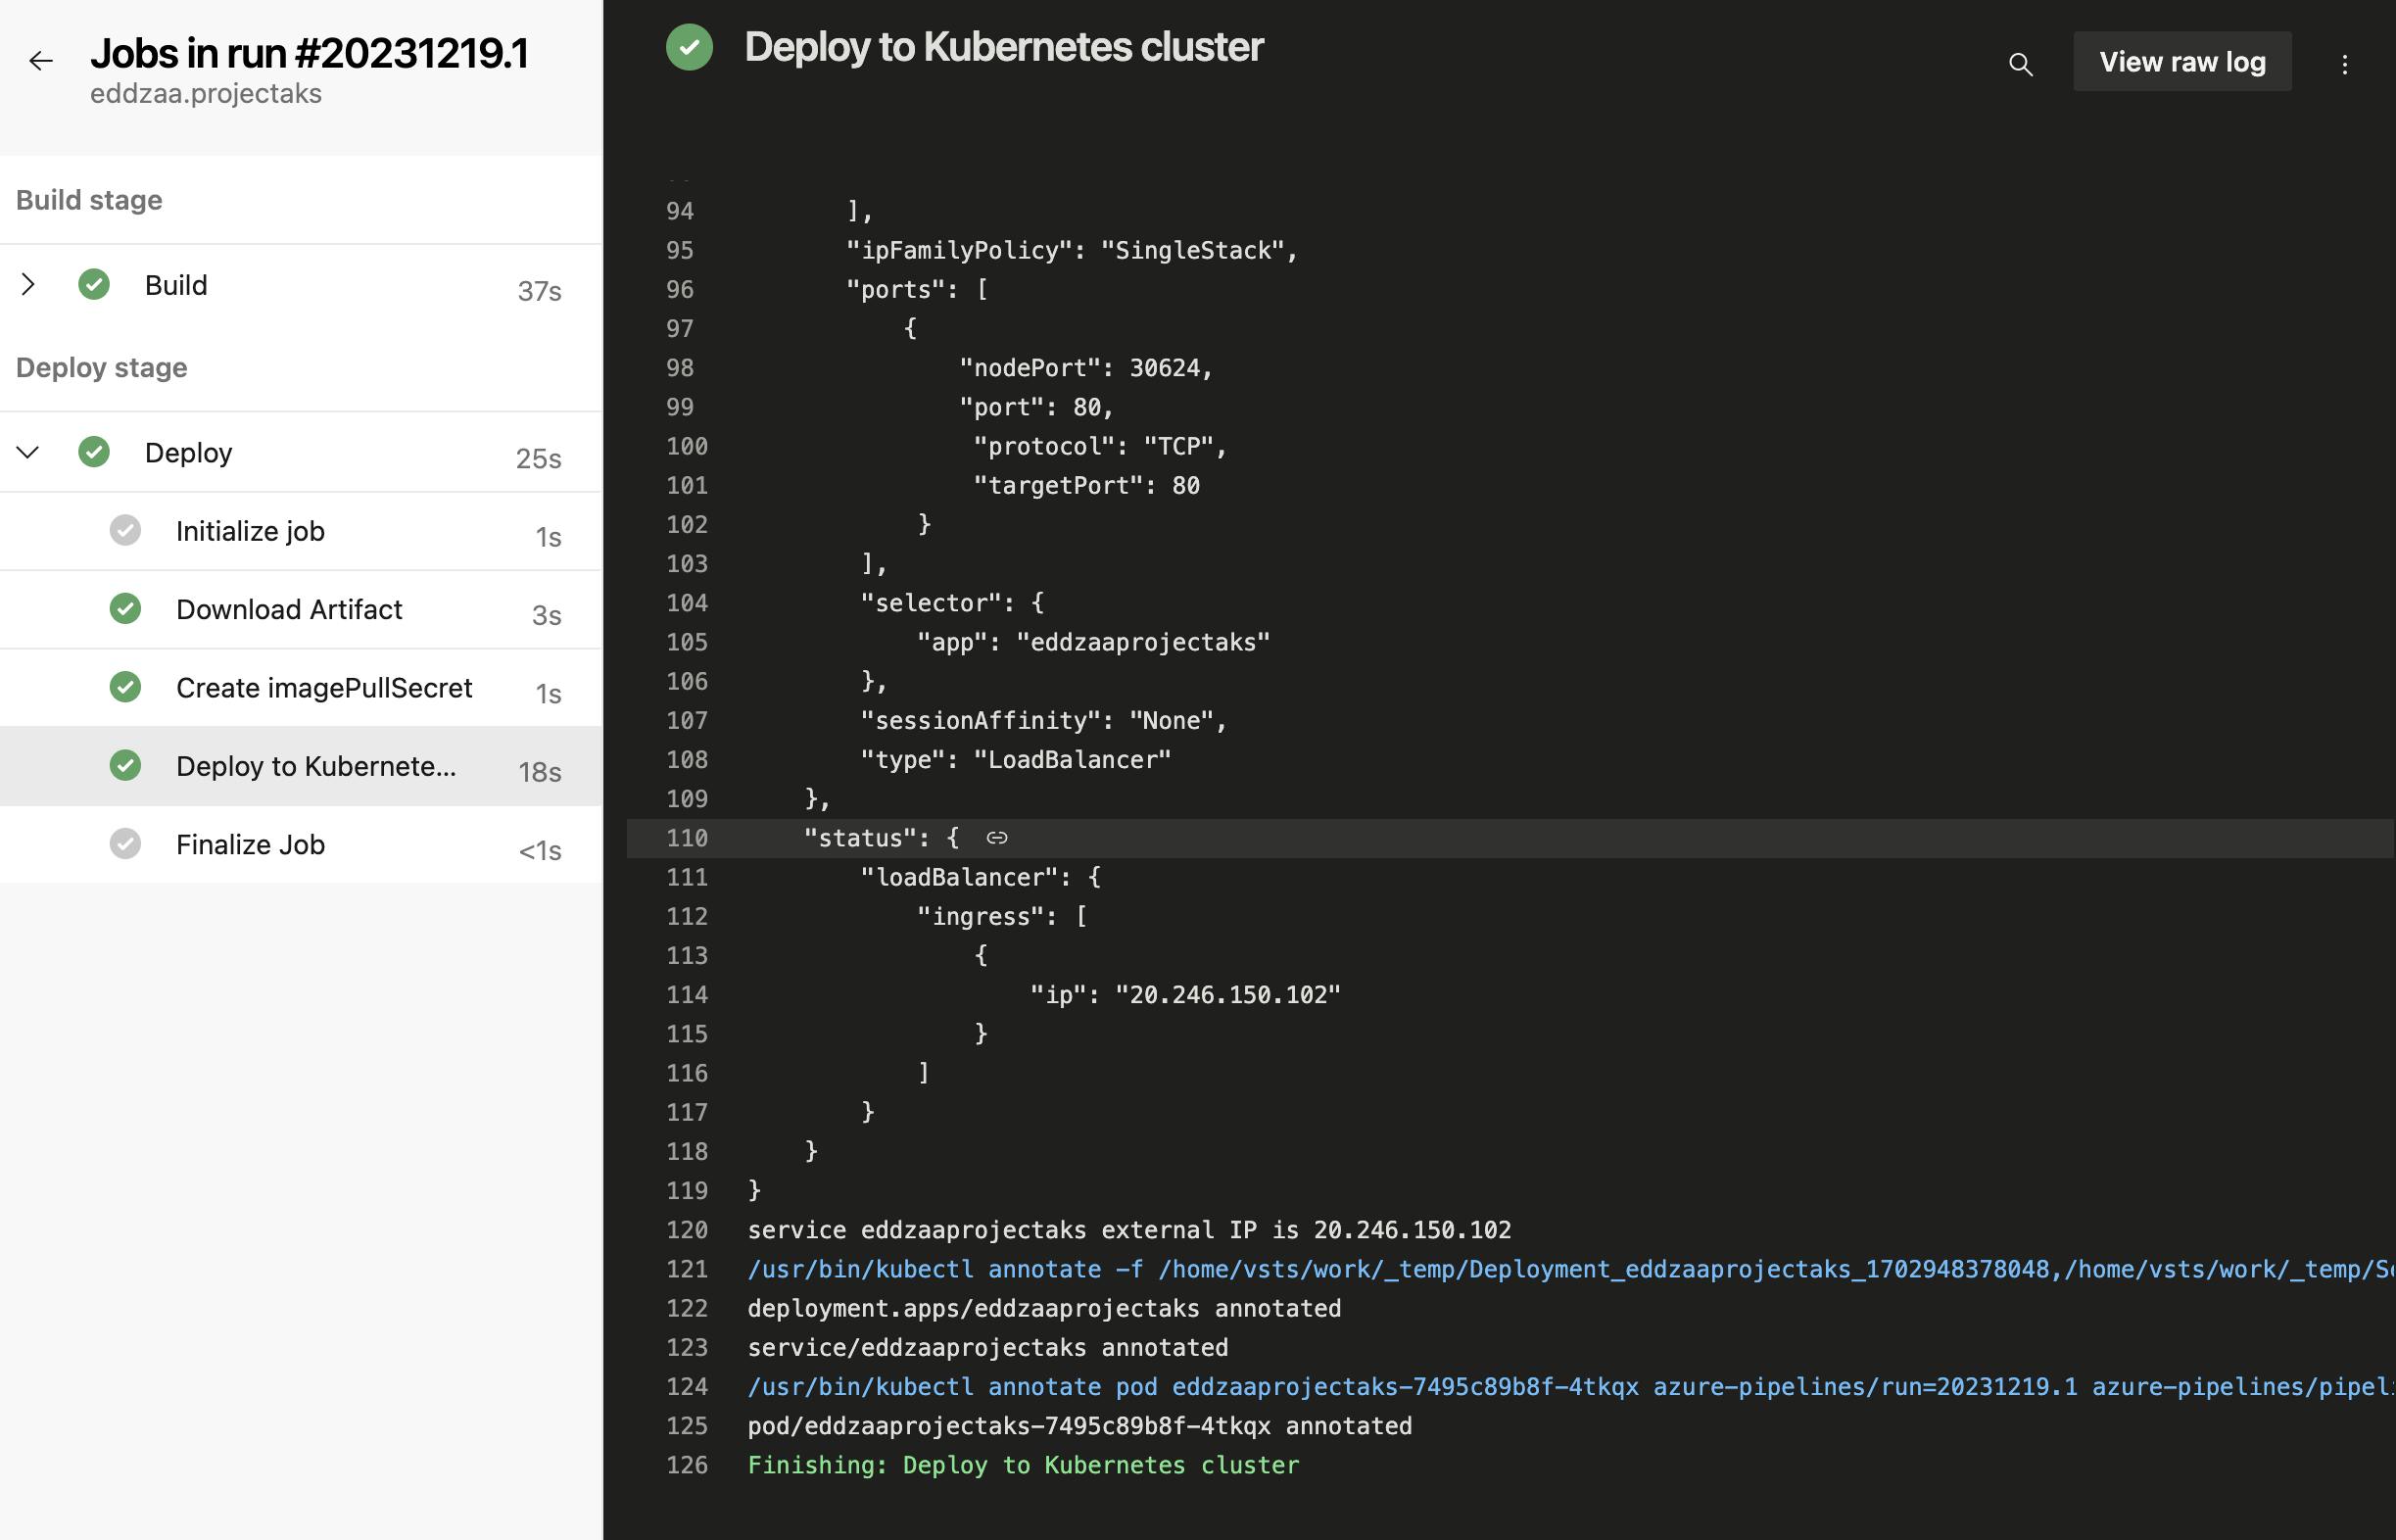
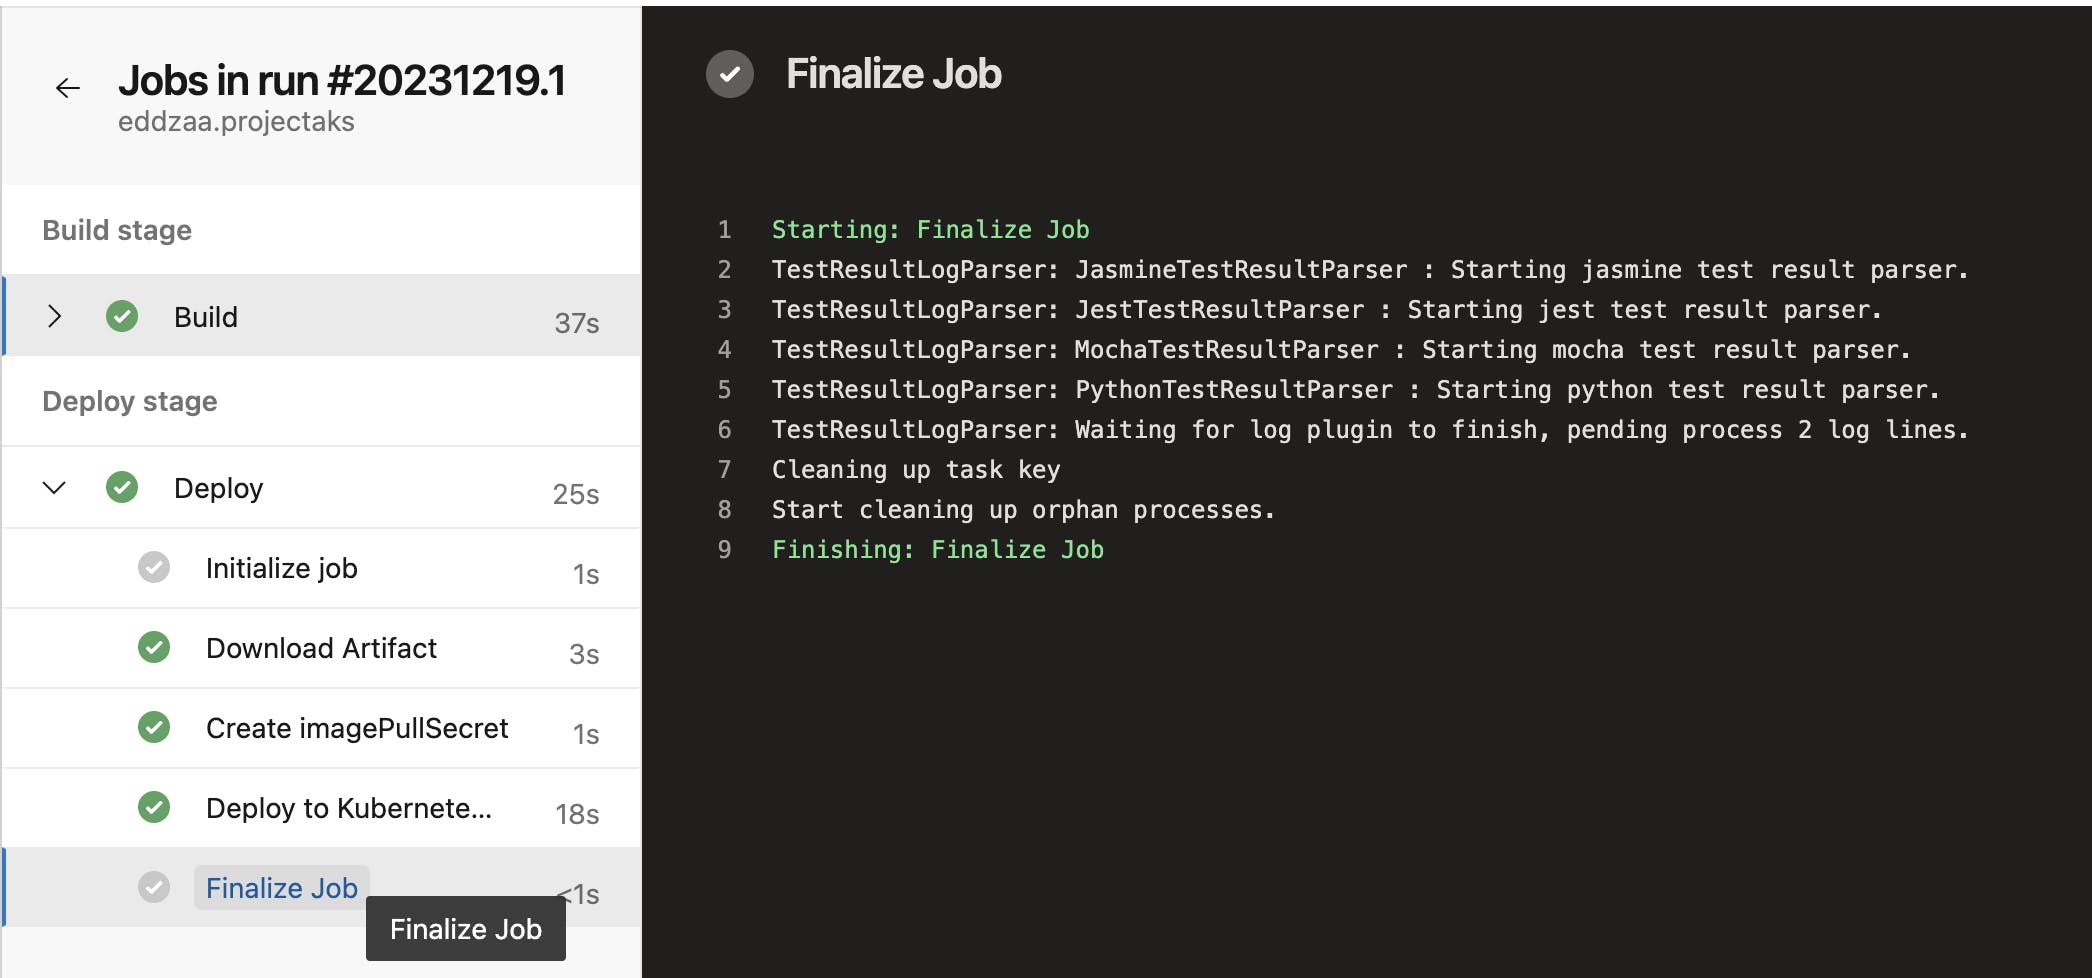
Configure Pipeline Stages: Define stages for building Docker images, pushing images to the registry, and deploying to AKS.

.
Integrate with Git: Ensure the pipeline triggers on code changes in the Git repository

Test and Validate: Run the pipeline to ensure automated deployment works as expected.

Conclusion
By following these steps, successfully deployed a microservices application on Azure using AKS and automated the deployment process through Azure DevOps. This scalable and efficient setup allows for easier management and scalability of the application.